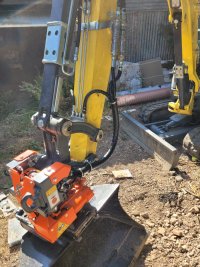
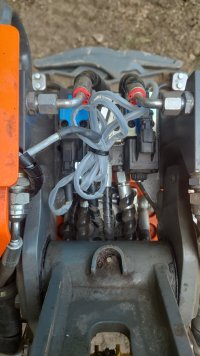
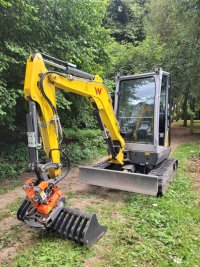
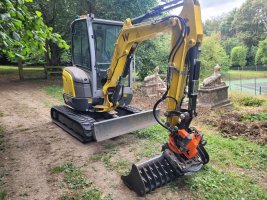
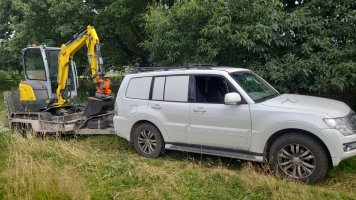
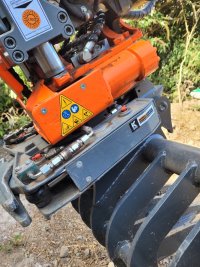
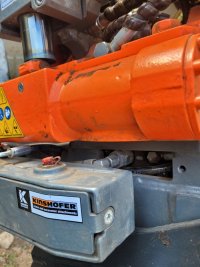
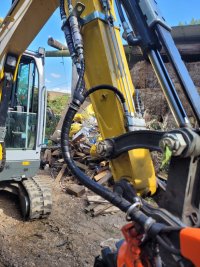
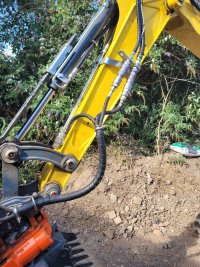
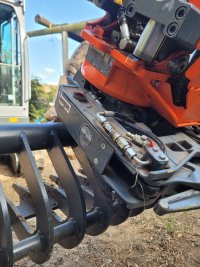
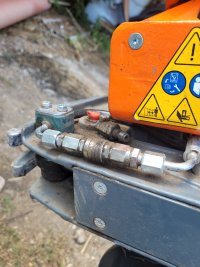
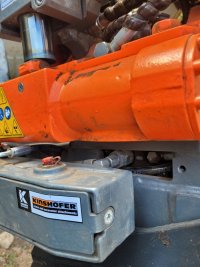
Got to put the EZ26 and TR025 through its paces this week. I'm rubbish with photos, but I've got a few here I took.
Tilt and rotate is a game changer, I've really enjoyed getting to grips with it. 30° tilt is limiting, but it's OK - 50° on the bigger models must be heaven.
I decided to take out the roller on the joystick and flip it round to get the tilt operating such that tilting left is achieved by tilting the rocker switch left - my head could get to grips with it the other way round!
The rake worked well, albeit bloody heavy! It's got to be iro 175kg. It was more or less lifting a track at full reach over the side! Grading accurately in this circumstance was difficult, the machine is a bit 'noddy' when reaching and operating on a slope with so much weight on.
The 1m scandi bucket thankfully is much lighter, and the bucket full of gravel at full reach over the side was not tipping the machine, but I was on level ground, and any more weight it would be.
The EZ26 has really clever hydraulics, I can be using several functions and the flow is shared nice and evenly, albeit slower. It's very fast, smooth and intuitive running a tiltrotator.
Zero tail is definitely a big compromise, and I'd not want anything heavier on the end, that being said I think it handles it well enough for what I'm doing. If you were consistently handling large boulders or tree trunks then maybe it would too much of a compromise - especially if not typically working in confined spaces.
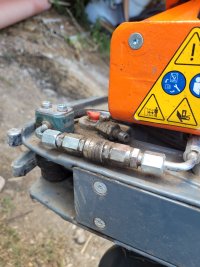
The gripper is great, but it does mean the intermecato grab and auger is going to be tricky to run as gripper is taking up the aux on the tilt rotator. The pipes that run the gripper can be disconnected to run another attachment, but they are tiny... I don't know if it's feasible to use these connections.
I can't wait to the next job I have for it!